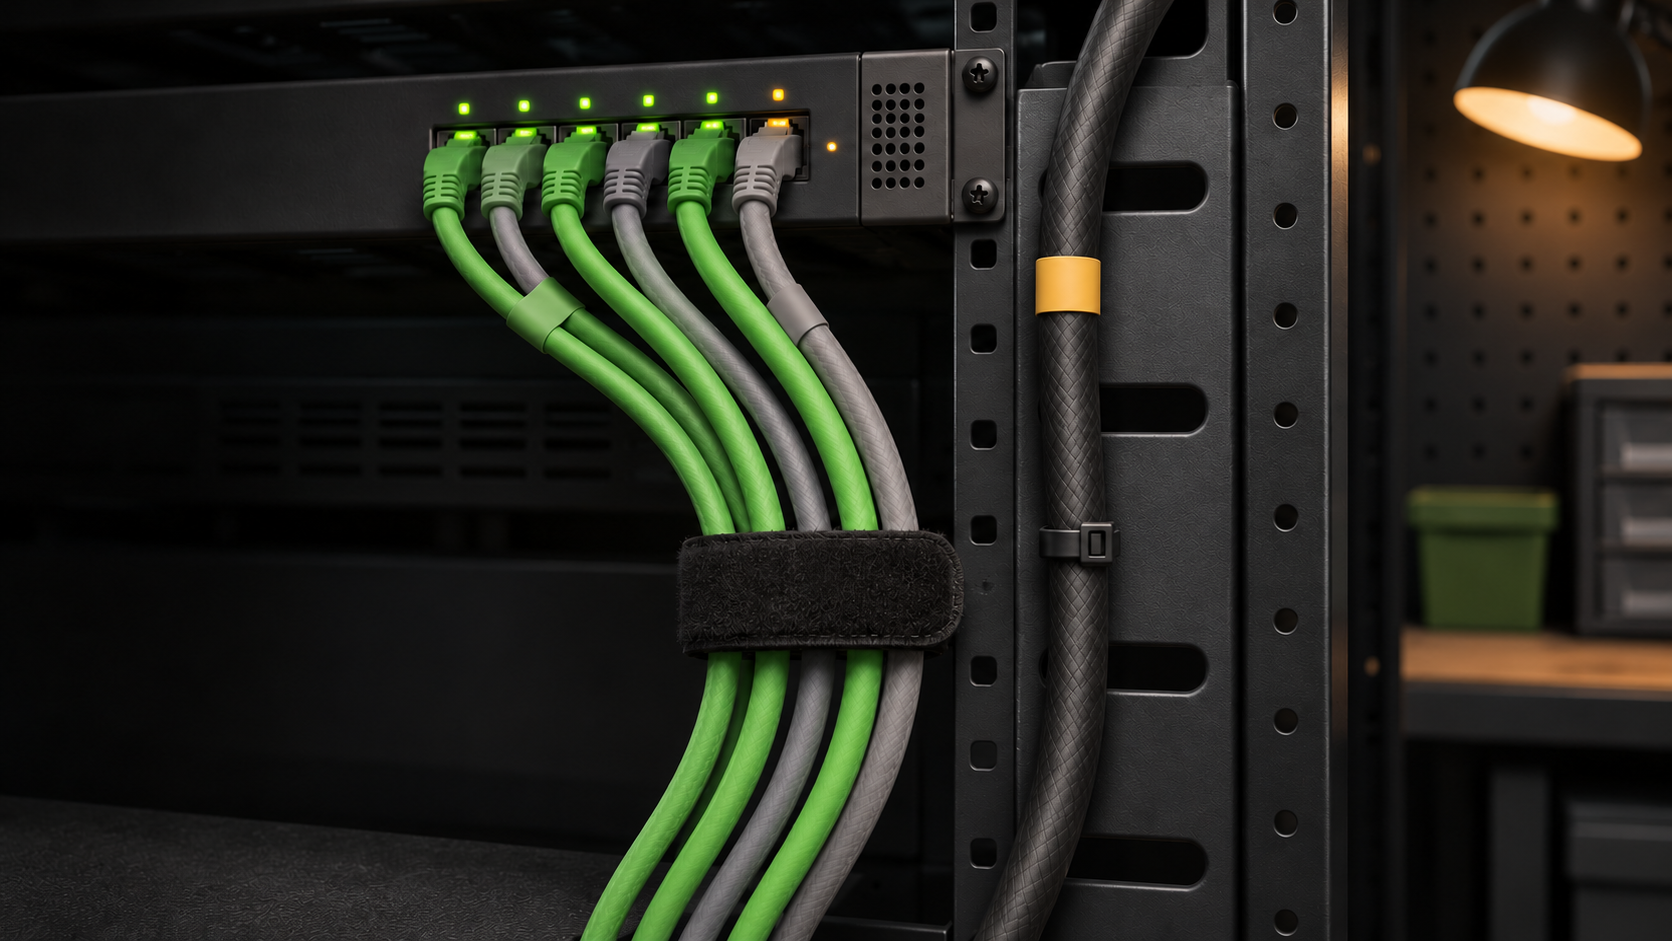
Most patch cords in a home lab rack should not be pulled into a rigid bundle. They need support, room to turn, and enough freedom for one cord to be traced or replaced. A reusable hook-and-loop strap usually meets those needs better than a one-way nylon cable tie. The exception is a fixed attachment point where the cable manufacturer or rack hardware explicitly allows a tie and the installation controls its tension.
Choose the fastener after identifying the cable and the job. Gathering copper patch cords differs from anchoring armored cable to a bracket. Bundle pressure, bend limits, service frequency, environmental rating, and pinch risk matter more than appearance.
Sort the cables before choosing a fastener
Make a short inventory of every cable in the rack. Separate copper patch cords, installed copper runs, fiber patch cords, power cords, console leads, and any armored or outdoor cable. Record which cables move during routine changes and which remain fixed. The rack cable-labeling checklist provides a durable way to identify both ends before a bundle hides their paths.
Also mark what the fastener must do. A loose strap may simply group cords inside a horizontal manager. A fixed support may transfer cable weight to a rack bracket. A retention point may keep a tray from pinching cables when it closes. These jobs should not be treated as interchangeable, and each one creates a different bundle pressure.
Do not use a fastener to correct a bad route. Tight cords need a better length or path. A coil against an intake needs another service-loop location. A cable crossing a sharp rail edge needs protection.
Use hook-and-loop where patching changes
Hook-and-loop straps are the practical default for front patch cords and other bundles that change. They open without cutting, can be repositioned, and let one cable leave the group. Panduit describes its current hook-and-loop products as soft, adjustable, releasable, and reusable. Its 2026 catalog presents them for high-performance cabling and frequent moves, additions, and changes.
That reversibility matters when ports, servers, or temporary leads move. Opening a strap avoids bringing a cutter into a dense bundle. Cisco documentation makes the same maintenance distinction: nylon ties are cut during card service, while hook-and-loop straps are opened.
Hook-and-loop is not permission to cinch hard. Close the strap only far enough to keep the group in its route. Each cord should still move slightly. If the bundle becomes round and rigid, the strap is too tight or the group is too large.
Understand what tight bundles can damage
CommScope warns that tight patch-cord bundling can increase crosstalk risk. Its guidance says not to tighten a cable tie so much that individual cords cannot rotate inside the group. The same document recommends reusable products that do not require tools, including hook-and-loop strapping.
Excess pressure can also deform a jacket or change the geometry of the cable beneath it. Fiber needs special care because a small-looking bend or concentrated load can violate the cable maker’s limit. Cisco, Panduit, and Rockwell Automation guidance recommends hook-and-loop for bundles of standard-jacket fiber. It says nylon cable ties can potentially damage that cable and are not recommended for that use.
Inspect the cable after fastening. Look for a flat spot, a hard crease, or a bundle that cannot flex. A tidy group still fails if it pulls sideways on a connector.
Reserve cable ties for controlled fixed points
A nylon cable tie is not forbidden everywhere in a rack. Some equipment instructions allow either ties or hook-and-loop at a mounting bracket. Cisco’s ASR cable-management instructions do this at specific bracket slots, while using hook-and-loop throughout the tray. The same instructions require slack, bend-radius control, and a check that the tray closes without pinching cables.
Use that as a narrow model. A cable tie can make sense at a fixed lacing point when the cable construction allows it, the route rarely changes, and tension is controlled. The industrial fiber guide also allows nylon ties for armored or dielectric double-jacketed fiber, not ordinary patch leads.
A tie should capture the cable at a support point rather than squeeze the bundle into shape. Leave room for the allowed movement and bend. Cut the tail flush without leaving a sharp edge. Keep cutters away from cable jackets during later service. If repeated access is likely, use a releasable strap instead.
Keep ports, labels, and airflow reachable
Fastener placement affects maintenance. Put straps where they support a route without covering labels or connector latches. Do not bind patch cords immediately behind a row of plugs. Leave enough independent movement to disconnect one port without pulling its neighbors.
Use a small number of purposeful support points. One near the horizontal-to-vertical transition may be useful. Another can hold a service loop in a side pathway. A line of closely spaced straps often adds work without improving support. CommScope’s current installation instructions show hook-and-loop securing a cable or group at defined rear-panel slots, then routing the cable into the frame’s vertical management.
Keep every bundle clear of intake and exhaust openings. Review the rack-airflow checklist after changing a route. Confirm that doors close, sliding equipment moves, fan modules remain removable, and no cord presses against a hot exhaust area.
Indoor rack use does not make every strap equivalent. Check the manufacturer’s temperature range, width, closure design, bundle-diameter limit, and mounting method. If a strap enters a plenum or air-handling space, verify that the exact product carries the required listing. Panduit separates plenum-listed hook-and-loop styles from its general product family. A generic marketplace description is not evidence that a strap has that rating.
For oil, weather, salts, or other harsh conditions, use the specified cable and fastening system. Cisco’s industrial guidance points to elastomeric ties for some exposed fiber installations. The example shows why material selection follows the location.
Power cords deserve their own route where practical. Follow the rack, power-distribution, and cord manufacturers’ instructions. Never attach a bundle to a removable door, fan tray, rail release, or component handle unless the hardware is designed for it.
Choose a useful strap size and format
Measure the finished bundle loosely. Record the cable manufacturer’s bend radius before deciding where the bundle will turn. Choose a strap long enough to overlap as its manufacturer requires without wrapping around the group several times. Excess layers add bulk and can snag adjacent cords. A wider soft strap spreads force over more jacket area, but it must still fit the intended slot or anchor.
Precut loop ties work well for repeated bundle sizes. A cut-to-length roll can fit varied paths, but every cut edge should remain clean and the strip must be long enough for its specified overlap. A buckle or cinch style may help at an anchor point. It also makes over-tightening easier, so use only the force needed to retain the route.
Write down the cable types, largest loose bundle diameter, strap width, required overlap, mounting method, location rating, color plan, and expected change frequency before shopping. This article contains affiliate links. As an Amazon Associate, LabGremlin earns from qualifying purchases.
This Amazon search for reusable one-inch hook-and-loop cable ties for a network rack is a comparison starting point. Verify width, length, maximum bundle size, closure style, mounting features, material rating, seller, warranty, and return terms. Do not infer a plenum, temperature, or load rating from appearance. No specific result is endorsed here.
Install loosely and verify the route
Plan a maintenance window if existing network links must be unplugged. Save the current switch port map, label each end, and photograph the route for your own rollback record. Open old straps instead of dragging connectors through them. Cut old cable ties one at a time with the blade facing away from every jacket.
Route one group at a time. Support its weight before closing the first strap. Close each strap loosely enough for cord movement. Check that connectors have no side load and that one cable can be traced end to end.
Restore links in small groups. Verify expected link state, speed, VLAN, Power over Ethernet behavior, and the service that uses the connection. Recheck the bundle after the rack door has closed and moving hardware has traveled through its full range. Update the port map and label record before the maintenance window ends.
For most home lab patching, choose reusable hook-and-loop and keep it loose. Use a cable tie only at a documented fixed point where the cable construction, hardware, environment, and tension control all support it. The finished rack should remain easy to inspect and change, not merely look compressed and orderly.
Sources
- Panduit 2026 Network Infrastructure Catalog
- Panduit Hook and Loop Cable Ties
- CommScope Guide to Patch Cord Management Using Twisted Pair Infrastructure
- CommScope Installing and Routing Patch Cords and Cables
- Cisco, Panduit, and Rockwell Automation Physical Infrastructure for the Converged Plantwide Ethernet Architecture
- Cisco ASR 5500 Cable Management System Installation
Primary manufacturer documentation was reviewed November 5, 2026. This is documentation-based guidance. It does not claim that LabGremlin installed, tested, measured, or evaluated a specific strap, cable tie, cable, rack, or marketplace product.