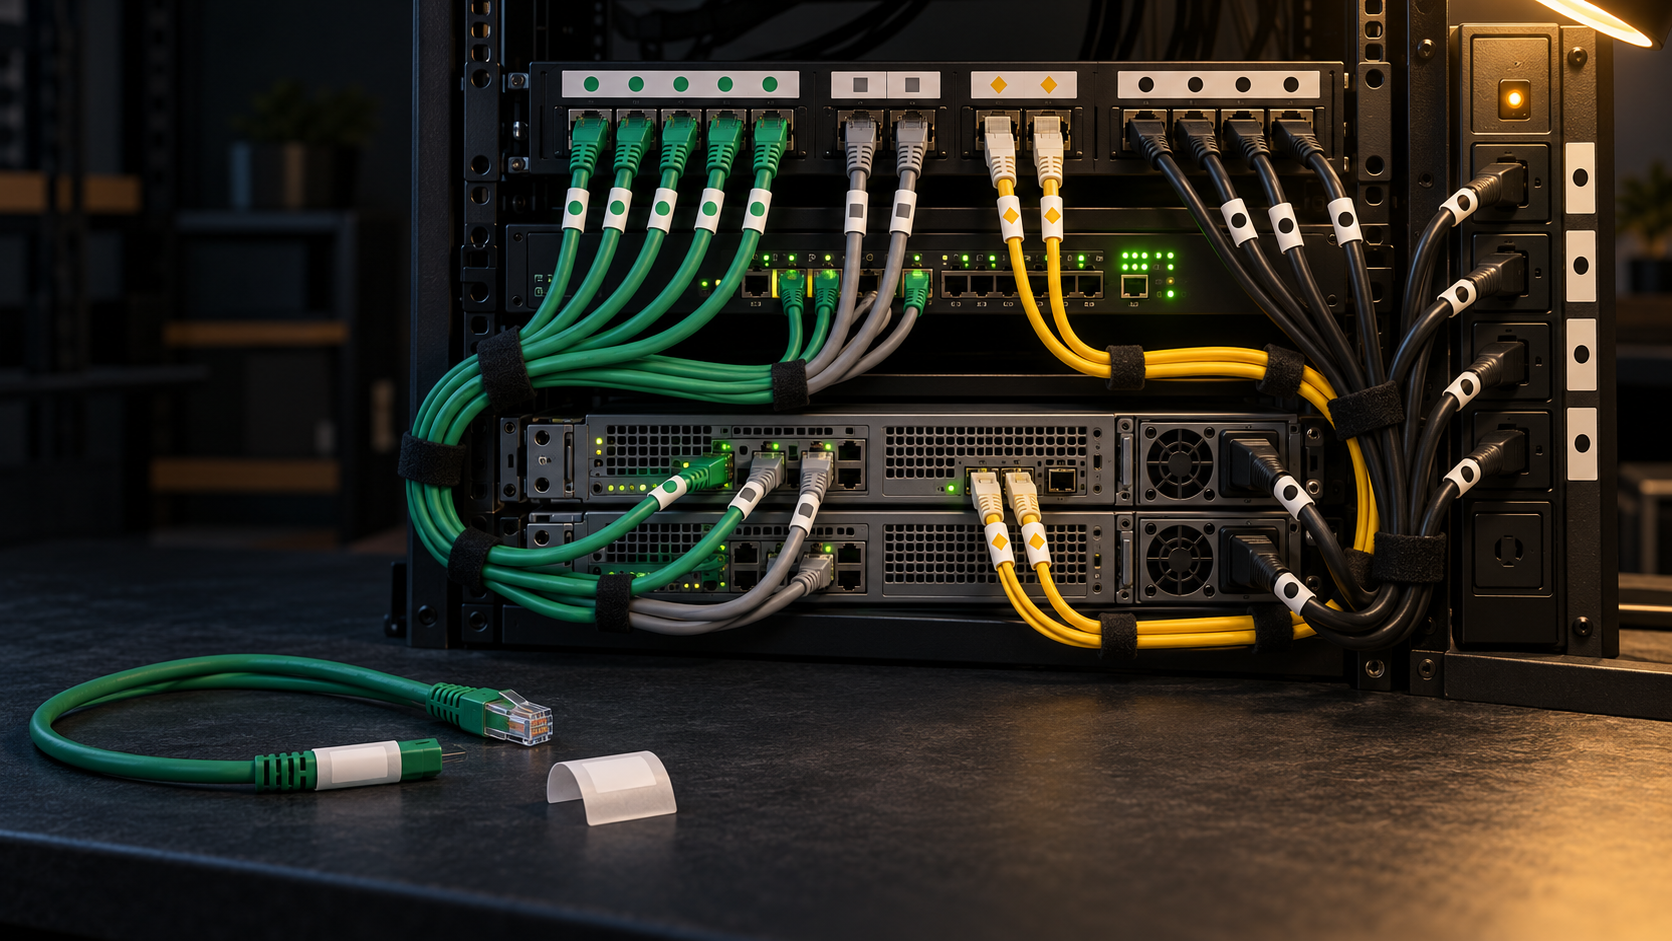
A cable label is useful only if it still answers the same question after the rack changes: what is this cable, and where does each end belong? Color alone cannot do that. A device name alone may stop being true after a port move. The practical system is a short unique identifier on both ends, matching labels on termination points, and one record that maps the identifier to the current connection.
Start small. A home lab does not need a building-scale administration database, but it benefits from the same discipline used in structured cabling: consistent identifiers, legible machine-printed labels, durable materials, and records that change with the rack.
Write the label plan before touching a cable
Choose a naming pattern that can survive equipment replacement. Separate location, component, and port fields with a consistent character. For example, R1-PP1-12 can mean rack 1, patch panel 1, port 12. A fixed run could use that identifier at both ends while the documentation maps it to wall outlet OFFICE-A-02. A short patch cord could show both endpoints, such as PP1-12 / SW1-12.
Do not pack every fact onto the cable. VLAN, IP address, hostname, service owner, and device role can all change without replacing the physical link. Keep the physical identifier stable, then put those changing details in the rack record. If the rack has only one panel or switch today, include the component number anyway. That avoids renaming every cable when a second panel appears.
Use a simple prefix list before printing anything:
R1for the rack or cabinet.PP1for patch panel 1.SW1for switch 1.SRV1for server 1.PDU1for rack power distribution unit 1.
Keep identifiers unique. Reuse a retired ID only if the old record, photographs, and test results cannot be mistaken for the new cable. In most home labs, issuing the next number is safer and easier.
Label both ends and the termination points
Put the same unique cable ID near both ends of every permanent copper or fiber run. Label the patch-panel port and the far-end outlet or coupler as well. CommScope’s current design guidance calls for copper and fiber cables to be labeled at both ends, termination hardware to be labeled at the port level, and rooms, racks, power circuits, and network equipment to be identified.
Patch cords need enough information to reconnect them without guessing. In a compact rack, a near-end and far-end pair is usually clearer than a long description. Match the printed endpoint names to the panel and equipment labels. Factory port numbers can remain the port identifiers when they are visible and unambiguous. Panduit’s infrastructure guide says factory-printed patch-panel numbers do not need duplicate labels, but missing port numbers should be added in a consistent sequence.
Label power cords independently from network cables. A useful format is SRV1-PSU-A / PDU1-08. Dual-power equipment should make the A and B paths obvious in both the label and the record. Never unplug a live cord merely to read or improve a label. Plan the work with the home lab maintenance-window checklist, and follow the equipment and electrical safety instructions.
Use color as a secondary cue
Color can help a person scan the rack, but it should not carry the only meaning. Cable jacket colors get reused, room lighting changes their appearance, and not every person distinguishes the same colors. Print the identifier in readable text even when a color band marks management, storage, uplink, console, or power paths.
Write the color rule into the documentation. Do not invent a new meaning when a preferred color is unavailable. A temporary replacement cable should receive the normal text identifier and a note in the record. If the color scheme conflicts with an existing site convention, keep the site convention.
Choose label material for the cable and environment
Use machine-generated labels that remain legible after handling. Fluke Networks summarizes the administration guidance as machine-generated, fully visible text at both ends, with label stock able to resist smearing, abrasion, moisture, chemicals, and expected temperature conditions. Handwritten tape is acceptable as a temporary marker during tracing, not as the finished system.
Self-laminating wrap labels are a practical choice for many copper patch cords. They place the print on an opaque area and cover it with a clear protective tail. Select the label from the cable’s outside diameter, not from the connector type alone. Panduit’s current label guide lists different wrap sizes for slim Category 6 cords, common Category 5e and Category 6 cables, and larger Category 6A or shielded cables.
Fiber jumpers need extra care. Use a label or sleeve specified for the cable diameter and construction. Do not create a tight pressure point, violate bend radius, cover polarity markings, or force a flag label into a fan or door. For a temporary investigation tag, use a removable material and replace it after the destination is confirmed.
Place each label where it can be read and serviced
Apply a wrap label to a clean, dry, straight section of cable close enough to the connector to find quickly, but beyond the boot, latch, strain relief, and normal bend. Use the same distance and reading direction across similar cords. On crowded panels, stagger labels slightly so they do not form one thick bundle.
Do not cover molded cable ratings, safety markings, serial numbers, release tabs, status lights, fan openings, or PDU outlet numbers. Keep labels outside cable-management rings that rub during moves. Preserve a service loop and the required bend radius. The patch-panel and direct-connection guide explains how permanent runs, equipment cords, strain relief, and panel ports fit together.
After applying a label, reconnect only if the maintenance plan calls for it, then check link state and the intended service. A continuity result can confirm conductor paths, but it does not replace the appropriate performance test for an installed link.
Label an existing rack one verified link at a time
Do not begin by disconnecting an entire bundle. Export the switch configuration, save the current port descriptions, photograph the rack front and rear, and create the identifier list. Then trace one cable, confirm both endpoints, print its two labels, update the record, and move to the next cable.
If a destination cannot be verified, attach a removable temporary ID such as TRACE-001 and record what is known. Do not turn a guess into a permanent label. An unused cable should be disconnected only after checking that it is not a standby, management, console, storage, or second power path.
Network and power routes should remain visually separate. Preserve the cable clearances and exhaust paths checked in the rack airflow checklist. Add or remove hook-and-loop ties only as needed, and avoid tightening a bundle simply to make it look uniform.
Maintain one record for the physical layer
Create one row per cable. Record the unique cable ID, cable type, near endpoint, far endpoint, panel and port, device and port, approximate length, install date, test reference, and current state. Add a note for PoE, fiber polarity, redundant power path, or another handling constraint when it affects safe maintenance.
The labels and the record must agree. Update both during the same change window. Fluke recommends that installation records and test results be retained and that administrators update documentation after later changes. The broader home lab documentation checklist provides a place for network diagrams, device identities, backups, and recovery details that should not be squeezed onto a cable label.
Audit the rack after a major change and at a regular maintenance interval. Look for missing labels, duplicate IDs, stale endpoint records, peeling material, hidden PDU outlet numbers, and labels pulled into tight bends. Replace a damaged label with the same identifier rather than issuing a new one.
Use this cable-labeling checklist
- Define stable rack, panel, device, and port names.
- Issue one unique cable ID and record its two endpoints.
- Print durable, legible labels sized for the cable diameter.
- Label both ends and the matching termination points.
- Place labels beyond boots, latches, strain relief, and normal bends.
- Keep color as a secondary cue and document its meaning.
- Verify one link at a time and update the record during the same change.
- Audit for missing, damaged, duplicate, or stale identifiers.
A finished rack does not need a complicated label taxonomy. It needs identifiers that remain readable, stay unique, and point to an accurate record. That is enough to turn the next cable move from a tracing exercise into a controlled change.
Sources
- Telecommunications Industry Association overview of current infrastructure standards
- TIA TR-42 committee document listing ANSI/TIA-606-D as published
- Fluke Networks cable-labeling practices
- CommScope education best-practice design guide
- Panduit desktop printers and labels guide
- Panduit identification solutions for data center infrastructure
Primary standards-body and manufacturer documentation was reviewed October 22, 2026. This is documentation-based guidance. It does not claim that LabGremlin installed, tested, certified, or validated a specific cable, label, printer, rack, switch, panel, PDU, or labeling system.